The UR5e robot is a lightweight and collaborative robot that is manufactured by Universal Robots. The robot consists of 6 revolute joints. Three joints are positioned at the shoulder location and 3 are positioned at the wrist location giving the robot a total of 6-DOF. The goal of this project is to perform a simple pick-and-place task using the UR5e robot. The robot will be using a two-prong parallel gripper to pick a cylindrical part and place it on an assembly machine. The robot must then wait until the assembly process is completed. Once the process is completed the robot must pick the part and place it in the desired location. The video below demonstrates the pick and place process.
Major Robot Parts
This industrial robot consists of three major sections. A brief explanation of these sections is provided below:
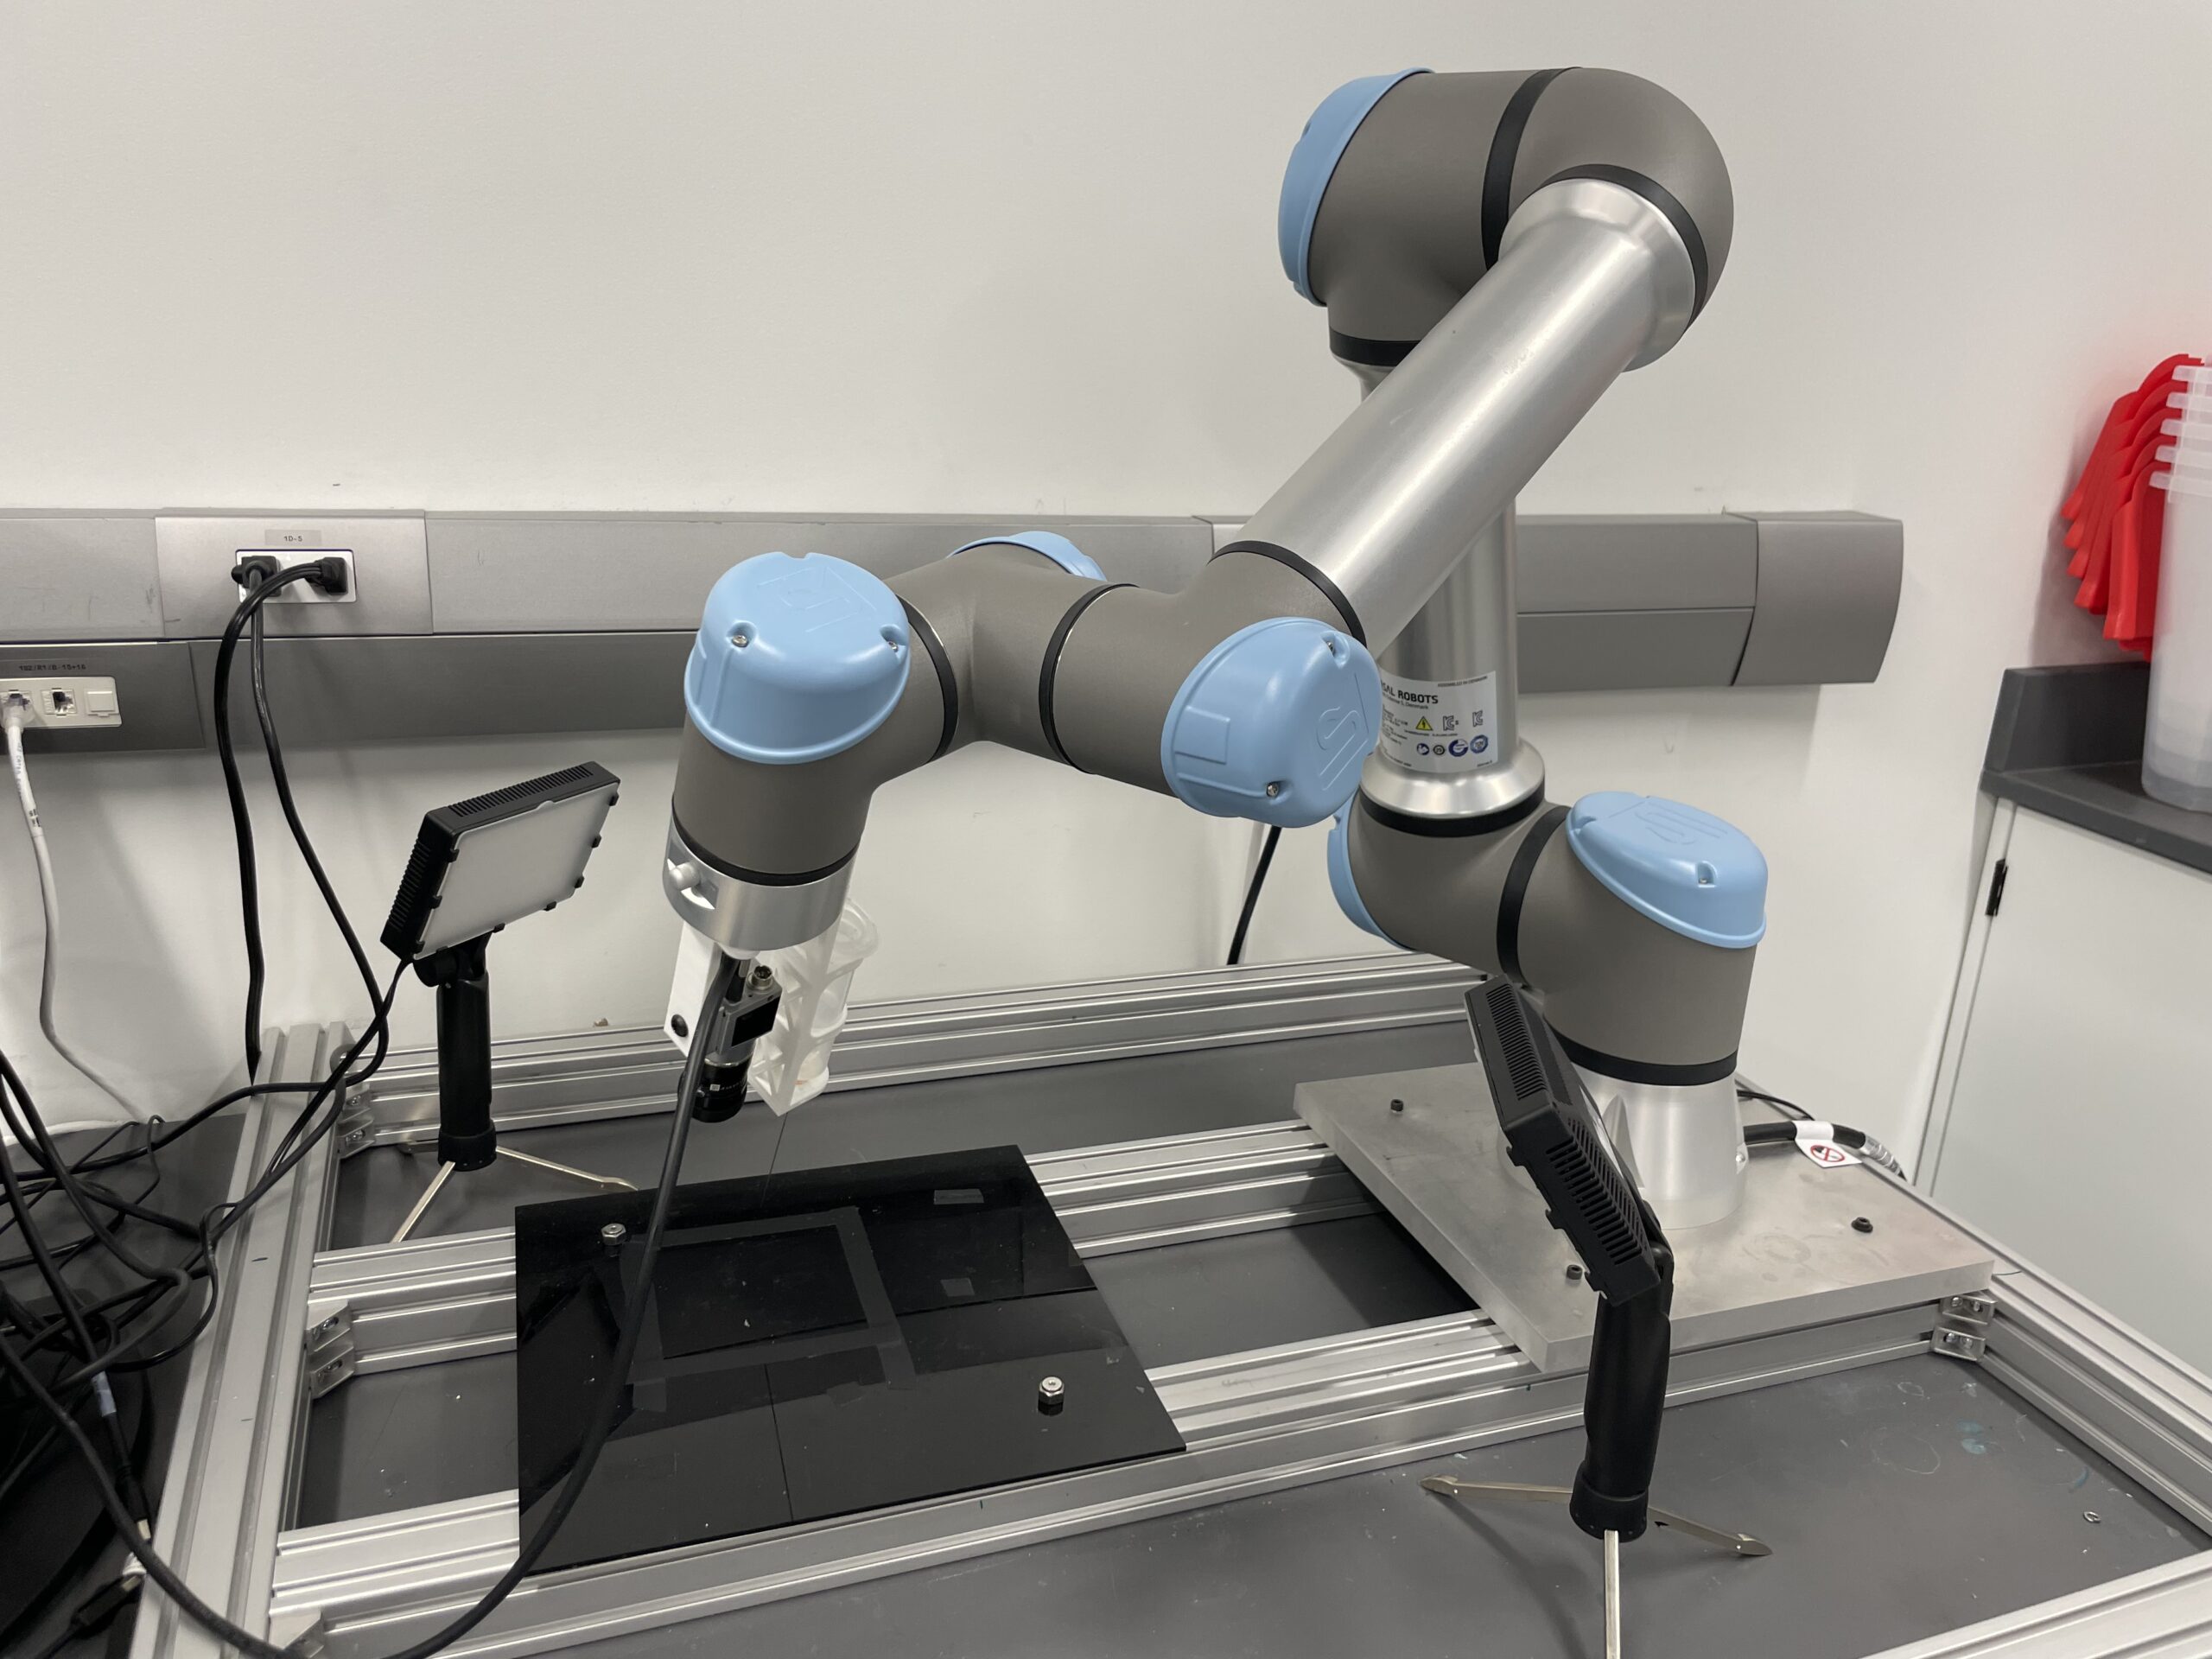
Robot Arm: This is the robot itself (The actual arm). it consists of 6 revolute joints and a universal end effector attachment at the end of it. Figure 1 illustrates the robot arm.
Teach Pendant: This is a computer device that is used to manipulate, program, or monitor the robot’s functionalities. Figure 2 illustrates the teach pendant.
Robot Controller: This is an electrical box the contains the robot’s power module, the microprocessor, and all the input/output ports including the ethernet ports. Figure 3 shows the robot’s control box.
Figure 1: The robot arm
Figure 2: The teach pendant
Figure 3: The control box
Procedure
To program the pick and place automation process we are going to use the teach pendant and the programming functionality of the UR5e robot. Before starting the program we must activate the HandE gripper. we can do this by entering the Activate command and setting it to “On”.
Now we can program the robot’s motion. In the robot program section first close the gripper using the “Gripper Close” command. then select the “moveJ” command and create a waypoint. Our first waypoint is used to line up the robot’s end effector with the part. To set the waypoint coordinates you can use the Free-Drive mode to manually move the robot to the approximate location and then use the X, Y, and Z motion controllers to adjust the position further. Once the desired location is achieved accept the waypoint positions. We can repeat this process for the next waypoints. Now we can set a second waypoint just inside the cylindrical part. This would allow us to grab the part from the inside. Recall that when we want to grab the part using the gripper we must use the “Gripper Open” command.
Using the grippers check functionality we can check to see if the part is gripped or not. To do this we can create an “if” statement with the following condition “Object Detected”. As long as the object is detected the if statement will run. However, if the object is not detected the program will execute the “else” command which creates an error window. Now we can create a few more waypoints within the if statement’s body to move the part up and over to the assembly machine.
Once the part is placed on the assembly machine and the robot is moved out of the way of the assembly machine a timer command could be used to delay the robot’s motion operation. After the delay and outside of the previously created if-else statement we can create a new “moveJ”. This move command will be used to move the robot to the correct location so that it can pick up the part from the assembly machine and place it in the desired location. we can create new waypoints as described above and check if the part is picked up using the commands mentioned above.
The video below demonstrates the implemented code on the teach pendant.
The pick and place script is provided below in text format.